 Reviews


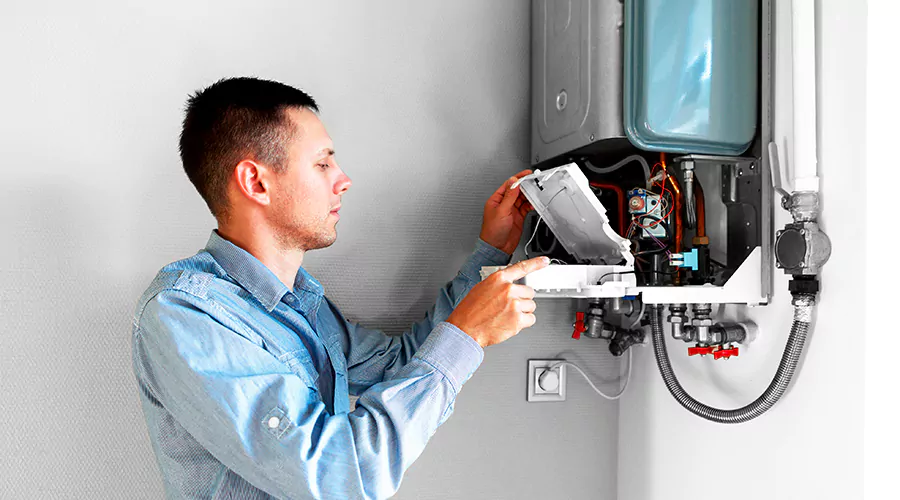
A DIY electric water heater installation costs about $50 in fittings against $350 to $1,600 for a professionally installed tank. One mistake erases the savings instantly, because energizing a dry tank destroys the heating elements in seconds.
The job combines basic plumbing with 240-volt electrical work. The plumbing forgives errors while the electricity does not.
Among home water heaters electric tank models dominate wherever gas lines don't reach, so this walkthrough covers the tank swap first and the tankless conversion after. The mistakes section is the part worth memorizing.
What Code and Sizing Require?
Three requirements come before any wrench: a permit, a dedicated circuit and the right tank size. Electric hot water installation codes require a permit in most cities, and some cities require one for every water heater installation, with permit costs starting around $131.
- Electrical capacity is non-negotiable: Any electric heater installation of this size runs on a dedicated 240-volt circuit, and a traditional tank heater usually sits on a single 30-amp breaker. That breaker must be a double-pole breaker feeding 10-gauge wire on standard 4,500-watt units.
- Sizing follows the household: A 40-gallon tank serves two to three people while a 50-gallon tank fits four or more. Match the new tank's wattage to the old one and the existing circuit usually carries over cleanly.
Insider tip: Photograph the old unit's data plate before shopping. Wattage, voltage and gallon capacity on one image answers every question the store or the inspector will ask.
Tools and Parts You'll Need
Everything beyond the tank costs under $80. The specialty items exist to prevent corrosion and catch leaks rather than to complete the connection. Skipping any of them is a future repair scheduled in advance.
- Non-contact voltage tester, the one non-negotiable tool
- Dielectric unions for both water connections
- Temperature and pressure relief valve if not factory-installed
- Copper or CPVC for the discharge pipe
- Drain pan sized to the tank plus a drain line
- Garden hose, pipe tape and two adjustable wrenches
- Seismic straps where local code requires them
Electric Hot Water Tank Installation Step by Step
Electric hot water tank installation follows nine steps, and the order is the safety system. Water fills before power flows, with no exceptions. Budget three hours for a first-timer.
- Kill the power: Flip the water heater breaker off, then prove it with the voltage tester at the unit's junction block.
- Drain the old tank: Connect the hose to the drain valve, open a hot tap upstairs and run the water outside or to a floor drain.
- Disconnect everything: Open the electrical junction cover and free the wires, then break both water connections.
- Set the new tank in the drain pan: Position it so the panels stay accessible and strap it if your region requires seismic straps.
- Make the water connections: The hot water heater hookup itself is two water lines and one circuit, so connect cold to cold and hot to hot using the dielectric unions.
- Pipe the relief valve: Run the discharge pipe from the temperature and pressure relief valve down to within 6 inches of the floor with no cap and no reduction.
- Fill completely: Open the cold supply and a hot tap, and wait for a full steady stream with no sputtering at the tap.
- Wire and energize: Match the wiring to your photo of the old connections, close the junction cover and only now flip the breaker.
- Set 120°F: Adjust both thermostats behind the access panels with the power off again during adjustment.
Insider tip: Water conducts the news. If the hot tap sputters air after 15 minutes of filling, the tank isn't full, and the breaker stays off until the sputtering stops.
Mistakes That Ruin New Water Heaters
Seven mistakes cause most failed inspections and dead-on-arrival tanks. The first one alone kills thousands of brand-new units every year. Every item below is cheaper to read than to repeat.
- Dry firing: The most common electric hot water heater installation mistake is powering a tank before it's full, which burns out exposed heating elements in seconds.
- Skipping the permit: Failed inspections and voided warranties follow undocumented installs.
- Joining copper straight to steel: Without dielectric unions, galvanic corrosion eats the connections within a few years.
- Capping the relief line: A blocked or reduced discharge pipe turns the safety valve into decoration.
- Reusing undersized wire: A higher-wattage tank on old thin wire overheats the circuit.
- Omitting the expansion tank: Closed plumbing systems with check valves need an expansion tank, or pressure spikes stress every joint.
- Trusting the breaker label: Test for dead at the unit itself, since mislabeled panels are common in older homes.
Electric Tankless Water Heater Installation
Electric tankless water heater installation is an electrical project wearing a plumbing disguise. A 12.2 kW unit draws about 51 amps while a large 32 kW unit draws 133 amps, and many older homes have only a 100 to 150-amp main panel for everything combined.
- That math reshapes the budget: The unit costs $600 to $1,500 in 2026, while labor and materials run $1,500 to $3,500 when a panel upgrade enters the picture. Full electric tankless hot water heater installation often includes that upgrade, and a circuit addition runs $300 to $500 while a full panel replacement costs $1,000 to $3,000.
- The payoff is longevity and space: Electric tankless models average 15 to 18 years against 8 to 12 for traditional tanks, and the federal Energy Efficient Home Improvement Credit returns 30% of equipment cost up to $600.
Insider tip: Whole-house electric tankless units often need three or four separate double-pole breakers. Count your panel's empty slots before scheduling electric tankless water heater installation.
What Installation Costs in 2026?
Professional water heater installation splits into three tiers by project type. Tanks stay affordable while tankless conversions carry electrical premiums. The table shows realistic 2026 totals.
| Project | 2026 installed cost |
|---|---|
| Tank replacement, national range | $350 to $1,600 |
| Tank replacement, high-cost metro | From $2,500 |
| Electric tankless, whole house | $1,800 to $4,200 |
| Tankless with major upgrades | Up to $3,901, averaging $2,638 |
| Old unit disposal | $89 to $165 when not included |
Quote quality matters more than quote size. Unusually low bids often exclude permits and disposal, and those line items balloon on install day.
When to Call a Professional
Call a pro when the project touches the panel or the permit process feels foggy. Licensed electric hot water services handle the plumbing and the electrical in one visit, which matters because two separate trades doing one heater doubles the scheduling.
Specific triggers settle it:
- Any new circuit, breaker or panel work.
- A tankless conversion of any size.
- Aluminum branch wiring anywhere in the house.
- A tank located where a leak reaches finished space.
- No comfort verifying dead circuits with a tester.
Professional installs also carry the paperwork. Permits pulled and inspections passed protect the manufacturer warranty and the future home sale.
First-Week Setup and Maintenance
The first week sets up the next decade. Three small checks catch installation errors while they're still free to fix, and one annual habit stretches the tank's life past its warranty.
- Day one: Check every connection for weeping after the first full heat cycle.
- Day three: Lift the relief valve lever briefly and confirm it snaps shut without dripping after.
- Week one: Verify 120°F at the tap with a cooking thermometer.
- Every year: Drain a few gallons from the tank valve to flush sediment, and check the anode rod at year three.
Conclusion
Water first and power second is the entire safety doctrine of this job. Dielectric unions, an open relief line and a full tank before the breaker flips separate a ten-year install from a ten-minute failure. Panel work and tankless conversions belong with licensed pros. This week, photograph your current heater's data plate and breaker so the eventual swap starts with answers.